Complete Tutorial: Creating Professional AI Videos in Minutes
When it comes to ai video tutorial, this step-by-step guide walks you through creating professional-quality videos using AI tools, even if you’ve never edited a video before. Follow along to go from script to published video in under 30 minutes.
What You’ll Learn
- How to script videos using AI writing assistants
- Generating professional voiceovers without recording
- Creating videos from text with AI tools
- Adding captions and effects automatically
- Optimizing videos for different platforms
- Publishing and scheduling your content
Step 1: Script Your Video (5 minutes)
Start with a clear outline of what you want to communicate. AI writing tools can help expand your ideas into a full script.
Best Practices:
- Keep scripts conversational and natural
- Use short sentences for better pacing
- Include a strong hook in the first 10 seconds
- End with a clear call-to-action
Script Template:
[Hook] - Grab attention (5-10 seconds)
[Problem] - Address viewer's pain point (15-20 seconds)
[Solution] - Present your answer (60-90 seconds)
[Benefits] - Explain the impact (30-45 seconds)
[Call-to-Action] - Tell viewers what to do next (10-15 seconds)
Step 2: Generate Voiceover (5 minutes)
Use AI voice generation tools to create professional narration without recording.
Recommended Tools:
ElevenLabs:
- Most natural-sounding AI voices
- Voice cloning for personal touch
- Emotion and pacing control
- Pricing: Free tier available, $5/mo starter
Murf AI:
- 120+ voices in 20+ languages
- Built-in video editor
- Emphasis and pronunciation control
- Pricing: Free trial, $19/mo basic
Voiceover Tips:
- Choose a voice that matches your brand personality
- Add pauses with punctuation (comma = short, period = longer)
- Test multiple voices before settling on one
- Download in high quality (48kHz recommended)
Step 3: Create Your Video (10 minutes)
Now use AI video creation tools to combine your script and voiceover with visuals.
Option A: Pictory (Blog/Article to Video)
Process:
- Paste your script or article URL
- Pictory’s AI selects relevant stock footage
- Review and adjust scene selections
- Add your voiceover audio
- Customize branding and colors
- Export in your desired format
Option B: InVideo AI (Text to Video)
Process:
- Choose a template matching your video style
- Input your script
- Select AI voice or upload your voiceover
- AI auto-generates scenes with stock footage
- Customize text, colors, and transitions
- Preview and export
Option C: Synthesia (AI Avatar Video)
Process:
- Select an AI avatar (or create custom)
- Input your script
- Choose language and accent
- Add slides or screen recordings
- Customize layout and branding
- Generate and download video
Step 4: Add Captions (3 minutes)
Captions are essential – 85% of social videos are watched without sound.
Caption Tools:
Captions.ai:
- 30+ viral caption styles
- Automatic emoji insertion
- Custom fonts and colors
- One-click application
Kapwing:
- Auto-generate captions (70+ languages)
- Edit captions in real-time
- Style presets for different platforms
- Subtitle download for accessibility
Caption Best Practices:
- Use large, readable fonts (minimum 48pt)
- High contrast between text and background
- Keep text on screen long enough to read comfortably
- Highlight key words for emphasis
Step 5: Optimize for Platform (5 minutes)
Different platforms require different video formats and specifications.
Platform Specifications:
Instagram Reels & TikTok:
- Format: 9:16 (1080×1920)
- Length: Up to 90 seconds (optimal: 7-15 seconds)
- File size: Under 100MB
- Frame rate: 30 FPS minimum
YouTube:
- Format: 16:9 (1920×1080)
- Length: 8-15 minutes ideal (retention sweet spot)
- File size: Under 128GB
- Frame rate: 24, 30, or 60 FPS
LinkedIn: For more insights, see our Waymark AI Video Tool Review 2026: Script-to-TV-Ad in Minutes.
- Format: 1:1 square (1080×1080)
- Length: 2-3 minutes ideal
- File size: Under 5GB
- Frame rate: 30 FPS
Multi-Platform Tools:
- Kapwing: Auto-resize for all platforms
- Canva: Platform templates built-in
- Descript: Export presets for each platform
Step 6: Publish and Schedule (2 minutes)
Use scheduling tools to plan your content calendar and maintain consistent posting.
Scheduling Platforms:
Buffer:
- Schedule to all major platforms
- Analytics and performance tracking
- Team collaboration features
- Pricing: Free for 3 channels, $6/mo per channel
Later:
- Visual content calendar
- Best time to post suggestions
- Link in bio tools
- Pricing: Free starter, $25/mo growth
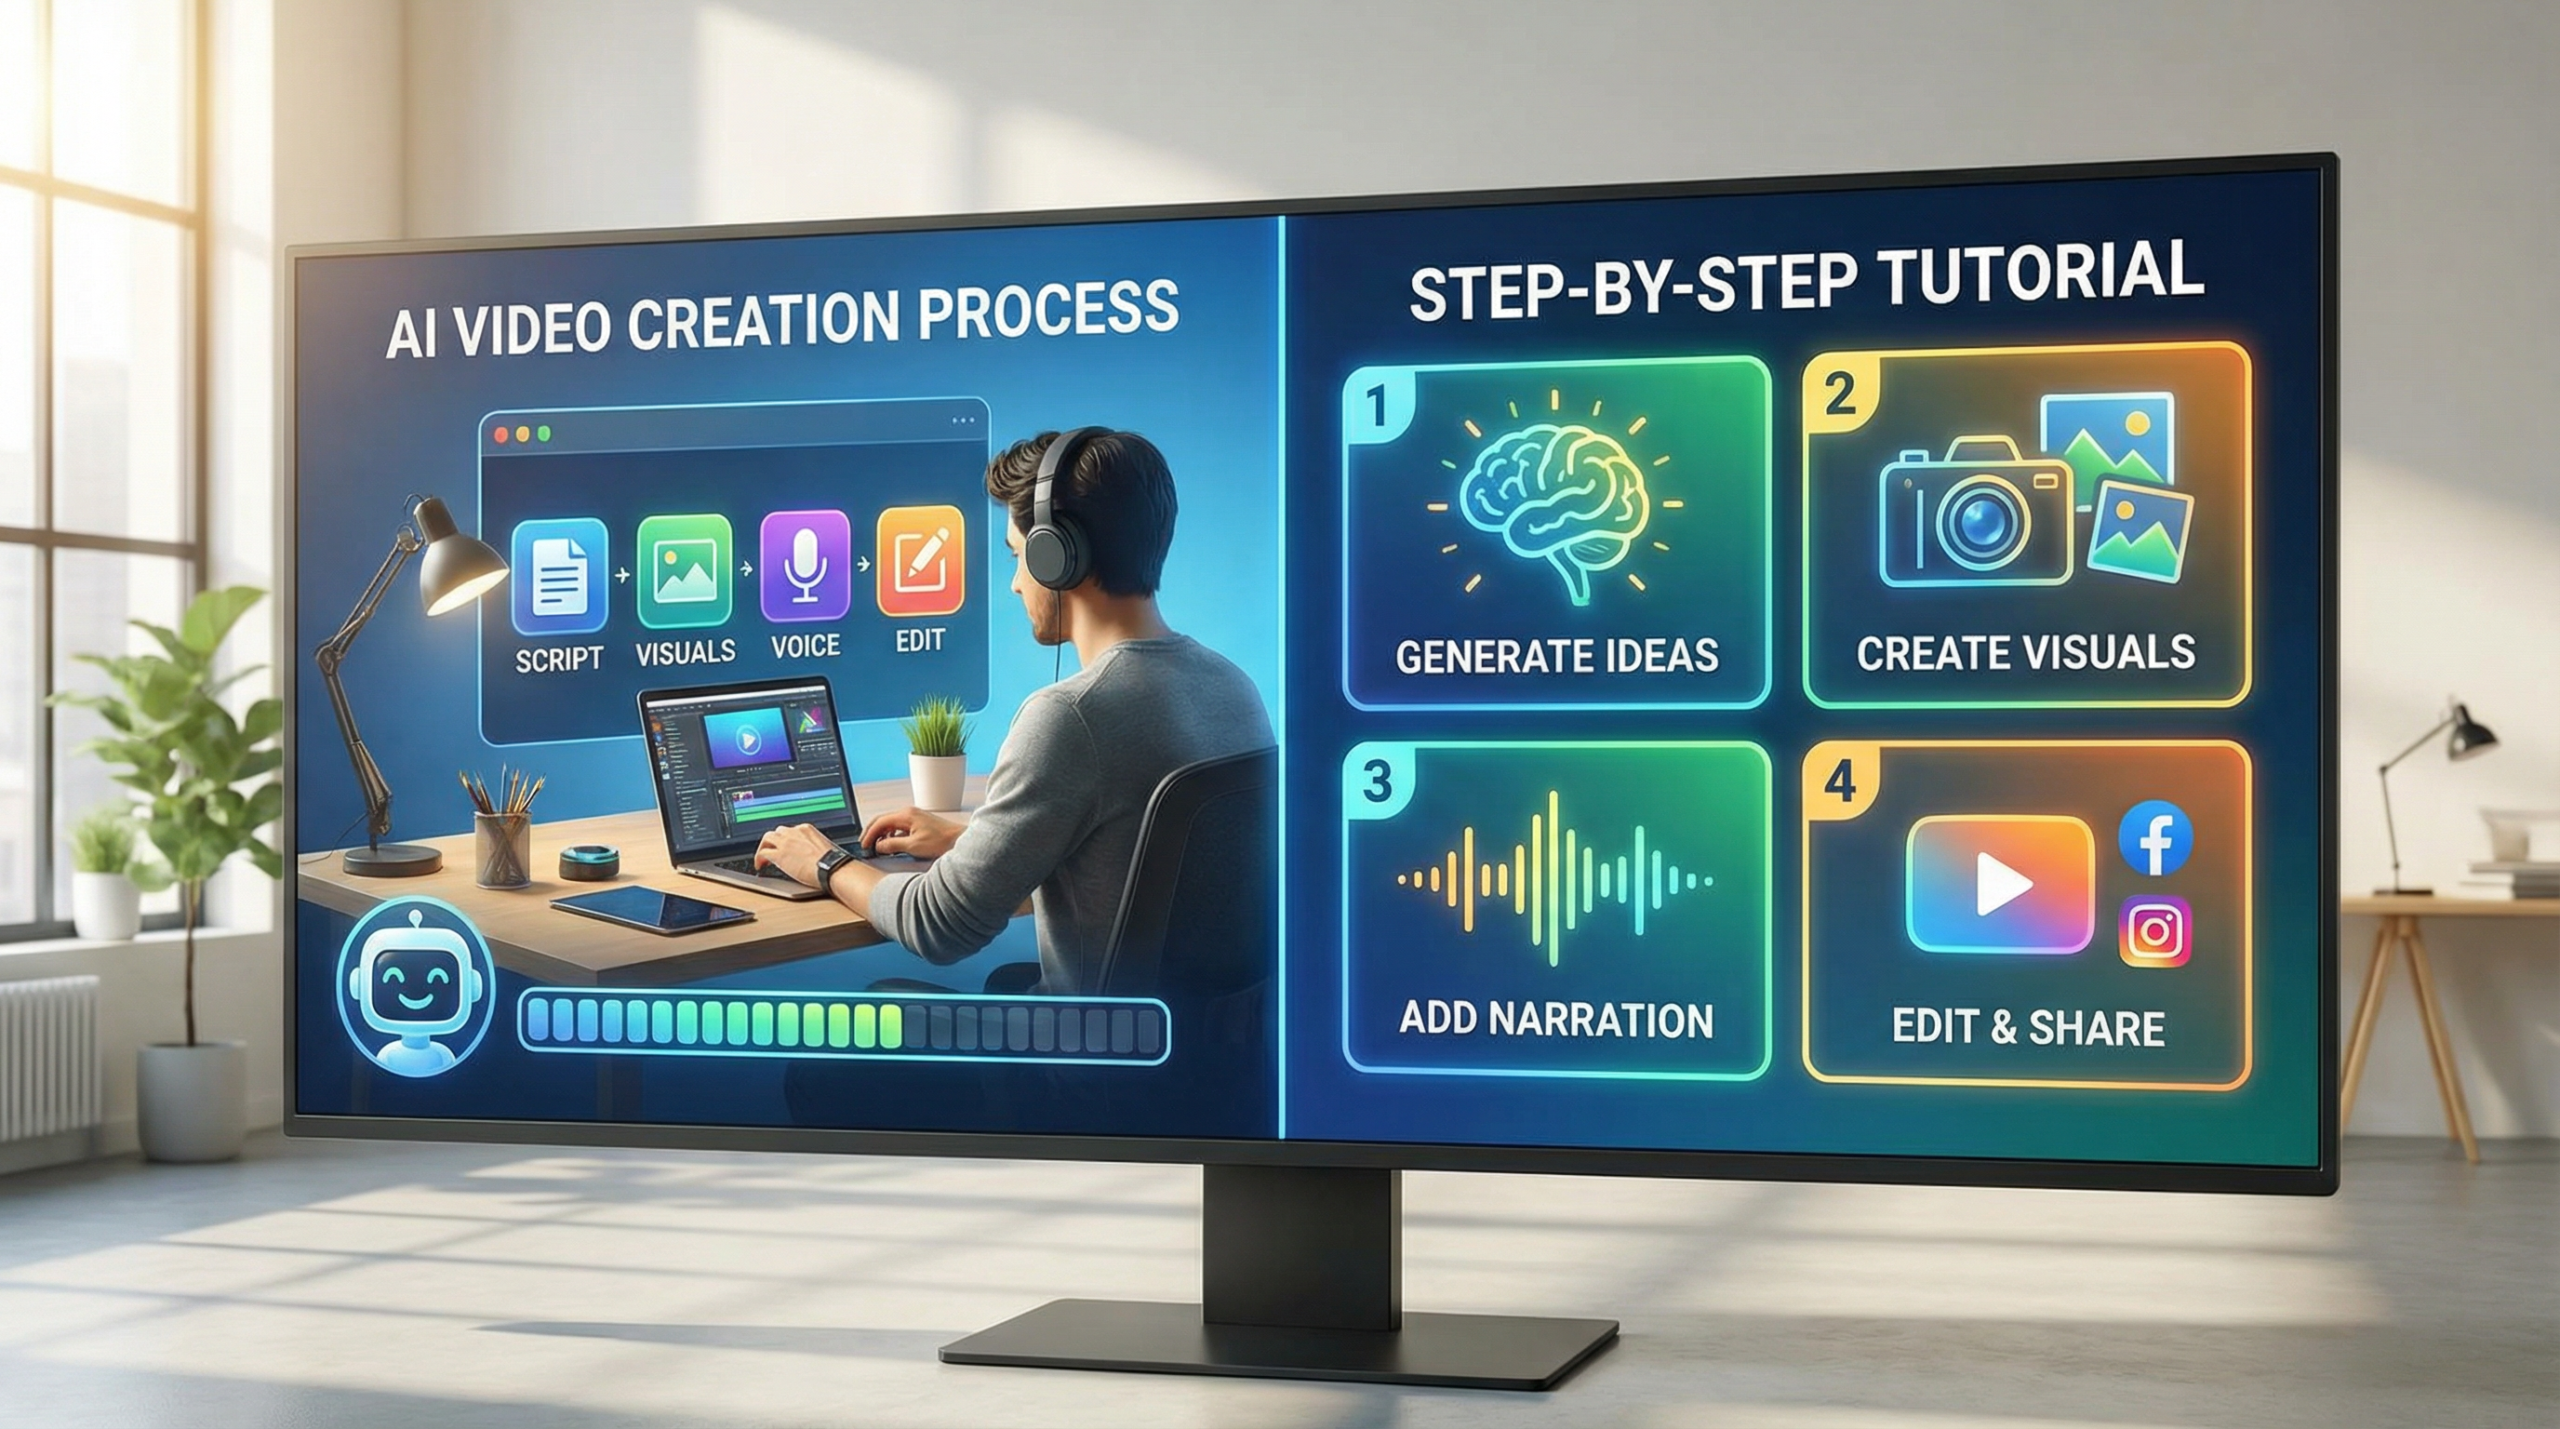
Complete Workflow Summary
Here’s the entire process in one view:
- Script (5 min): Outline → AI writing tool → Final script
- Voiceover (5 min): ElevenLabs/Murf → Generate → Download
- Video (10 min): Pictory/InVideo → Add visuals → Customize
- Captions (3 min): Captions.ai/Kapwing → Auto-generate → Style
- Optimize (5 min): Resize for platforms → Export multiple versions
- Publish (2 min): Upload to Buffer/Later → Schedule posting
Total Time: 30 minutes
Output: Professional video optimized for multiple platforms
Common Mistakes to Avoid
1. Skipping the Script: Even AI tools need good input. Don’t wing it.
2. Ignoring Captions: 85% watch muted – captions aren’t optional.
3. Using Same Format Everywhere: Optimize for each platform’s audience.
4. Overusing Effects: Clean and simple often performs better than flashy.
5. Forgetting CTAs: Always tell viewers what to do next.
Next Steps: Practice and Iterate
The best way to improve is to create consistently. Start with this workflow, track what works, and refine your process.
Week 1-2: Follow this tutorial exactly to build muscle memory
Week 3-4: Experiment with different tools and styles
Month 2: Analyze performance data and optimize
Month 3+: Develop your unique style and voice
Additional Resources
Free Stock Footage:
- Pexels Videos – High-quality, royalty-free
- Pixabay – Large library, no attribution required
- Videvo – 4K content available
Free Music: For more insights, see our Best AI Video Tools for Product Demos in 2026: Showcase, Convert & Sell More.
- YouTube Audio Library – Safe for monetization
- Epidemic Sound – Free trial available
- Artlist – One license for all platforms
Conclusion
Creating professional videos with AI tools is now accessible to everyone. Follow this 30-minute workflow to go from idea to published video. The more you practice, the faster and better you’ll become. Most of these tools offer free trials – test them to find which fits your workflow best.
Remember: The best video tool is the one you’ll actually use consistently. Start simple, focus on providing value to your audience, and let AI handle the technical heavy lifting.